
How to Block Unwanted Senders in Gmail and Outlook 34 min read · Written by Mae R Davis on · Stop spam.

Tired of spam emails cluttering your inbox? Here's how you can block unwanted senders in Gmail and Outlook to keep your email clean and secure.
Key Takeaways:
- Gmail: Use the "Block" option or create custom filters to automatically send unwanted emails to your Spam folder.
- Outlook: Add senders or domains to the "Blocked Senders" list or adjust Junk Email settings to filter spam effectively.
- Advanced Tip: Use tools like Email Monster to create temporary email aliases, protecting your real email address and stopping spam before it starts.
Quick Comparison:
| Feature | Gmail | Outlook | Email Monster |
|---|---|---|---|
| Block Senders | Sends to Spam folder | Redirects to Junk folder | Disable alias completely |
| Domain Blocking | Limited options | Block entire domains | Not applicable (uses aliases) |
| Privacy Protection | Real email exposed | Real email exposed | Real email concealed |
| Spam Prevention | Reactive (after spam arrives) | Reactive (after spam arrives) | Proactive prevention |
Why It Matters:
Spam emails can waste time, disrupt productivity, and even expose you to phishing scams. By using these methods, you can take control of your inbox and focus on what truly matters.
How to Block Senders, Unsubscribe and Report Spam Gmail on Mobile and Desktop
How to Block Unwanted Senders in Gmail
Gmail provides helpful tools to keep those annoying emails out of your inbox. By blocking specific senders, Gmail automatically sends their messages straight to your Spam folder, making it easier to manage your inbox without distractions.
Block Specific Email Addresses in Gmail
The simplest way to stop emails from a particular sender is by using Gmail's block feature. Here's how to do it:
- Open the email from the sender you want to block.
- Click the three vertical dots (More options) in the top-right corner of the email.
- From the dropdown menu, select "Block [sender's name]".
- Confirm by clicking "Block" in the pop-up window.
You can follow these steps on both desktop and mobile versions of Gmail. After blocking, any future emails from that sender will automatically land in your Spam folder.
Want to manage your blocked senders? Keep reading to find out how.
View and Edit Your Blocked Senders List
Gmail keeps track of all the email addresses you've blocked, and you can review or update this list whenever you like. Here's how to access it:
- Log in to your Gmail account and click the gear icon in the top-right corner.
- Select "See all settings" from the dropdown menu.
- Go to the "Filters and Blocked Addresses" tab.
Here, you'll find the list of blocked addresses. To unblock someone, either select the address and click "Unblock selected addresses" or open an email from the blocked sender, click the three vertical dots (More options), and choose "Unblock [sender's name]".
Create Custom Filters for Unwanted Senders
Blocking individual addresses works well, but Gmail's custom filters offer a more flexible way to manage unwanted emails. Filters let you automatically sort, delete, or label emails based on specific criteria like sender addresses, keywords in the subject line, or even phrases within the email body.
To create a filter, you can start from the search bar or an existing email:
Using the search bar:
- Type your search criteria into Gmail's search bar at the top of your inbox.
- Click the "Show search options" button to refine your criteria.
- Once you're satisfied with the parameters, click "Create filter" to set it up.
Using an existing email:
- Select the email that matches the type of messages you want to filter.
- Check the box next to the email, then click the three vertical dots (More options).
- Choose "Filter messages like these" to pre-fill the filter criteria.
After defining your criteria, decide on the action Gmail should take - like skipping the inbox, marking emails as read, applying a label, or deleting them automatically.
Filters are especially handy for blocking emails from an entire domain. For example, if you're bombarded by messages from multiple addresses at the same company, you can create a filter to delete all emails from that domain instead of blocking each address one by one. You can always revisit the "Filters and Blocked Addresses" section in Gmail settings to tweak or delete filters as needed.
How to Block Unwanted Senders in Outlook
Outlook has a built-in feature to redirect unwanted emails straight to your Junk Email folder, keeping your primary inbox free of clutter. When you block a sender, their emails won’t show up in your main inbox but will instead be routed to the junk folder. However, blocked senders can still send you emails - they just won’t disrupt your main view.
Quick Tip: Junk emails are deleted automatically after 14 days. Make a habit of checking your junk folder occasionally to ensure no legitimate emails are mistakenly flagged.
Block Email Addresses in Outlook
Blocking senders in Outlook depends on the version you’re using. Here’s how to do it for different platforms:
For New Outlook (Windows and Web):
The simplest way is through the settings menu. Go to Settings > Mail > Junk email, enter the email address or domain under "Blocked senders" or "Blocked domains", and click "Add". Don’t forget to hit "Save" to apply the changes.
Important Note: The "Block Sender" feature in the new Outlook is only available for Exchange accounts. It won’t work for POP3 or IMAP accounts.
For Classic Outlook (Windows):
You have two methods here:
- Quick Method: Right-click any email from the sender you want to block, then select "Junk > Block Sender".
- Ribbon Method: On the Home tab, locate the Delete group, click "Junk", and choose "Junk E-mail Options". In the dialog box, switch to the "Blocked Senders" tab, click "Add", and type in the email address or domain.
For Outlook on Mac:
Select the email, then go to the Outlook menu and choose "Message > Block" or "Message > Junk Mail > Block Sender".
Outlook allows blocking up to 10,000 addresses or domains in your blocked and safe senders lists combined. Once you’ve blocked senders, you can always review and modify your list as needed.
View and Edit Your Blocked Senders List
Managing your blocked senders list is straightforward and varies slightly depending on the Outlook version you’re using:
- New Outlook for Windows: Go to Settings > Mail > Junk email to view your blocked senders list. To unblock someone, simply select the address or domain and click the remove option.
- Classic Outlook for Windows: Head to the Home tab, click Junk, then Junk E-mail Options. Under the Blocked Senders tab, you can view the list and remove addresses by selecting and clicking "Remove".
- Outlook on the Web or Outlook.com: Access your list via Settings > Mail > Junk email.
- Outlook Web App: Click the Settings cog, search for "blocked senders and domains", and remove unwanted entries by clicking the trash icon next to them.
Adjust Junk Email Filter Settings
In addition to blocking senders, Outlook offers options to fine-tune how junk emails are handled. You can adjust the filtering levels to suit your preferences and decide the fate of suspected spam.
Setting Protection Levels in Classic Outlook:
From the Home tab, go to the Delete group, then choose Block > Junk E-mail Options. Outlook offers four levels of junk email protection:
- No Automatic Filtering: Disables junk email filtering.
- Low: Filters only the most obvious junk emails.
- High: Filters more aggressively but may catch legitimate messages occasionally.
- Safe Lists Only: Allows emails only from your safe senders list.
Automatic Deletion Options:
If you’d rather not deal with the Junk Email folder, you can enable automatic deletion of suspected spam. In Mail, go to Home > Block > Junk E-mail Options, and on the Options tab, check "Permanently delete suspected junk email instead of moving it to the Junk E-mail folder".
Managing Settings in New Outlook and Web Versions:
For newer versions, navigate to Settings > Mail > Junk email. Here, you can manage your Blocked senders and domains or Safe senders and domains lists. Keep in mind that junk emails in these versions are retained for 30 days before being automatically deleted.
In the Outlook Web App, go to Settings > Mail > Block or allow. This section lets you decide whether to move spam to the Junk Email folder or filter it automatically. You can also manage safe and blocked senders from here.
sbb-itb-0191afb
Protect Your Inbox with Email Monster
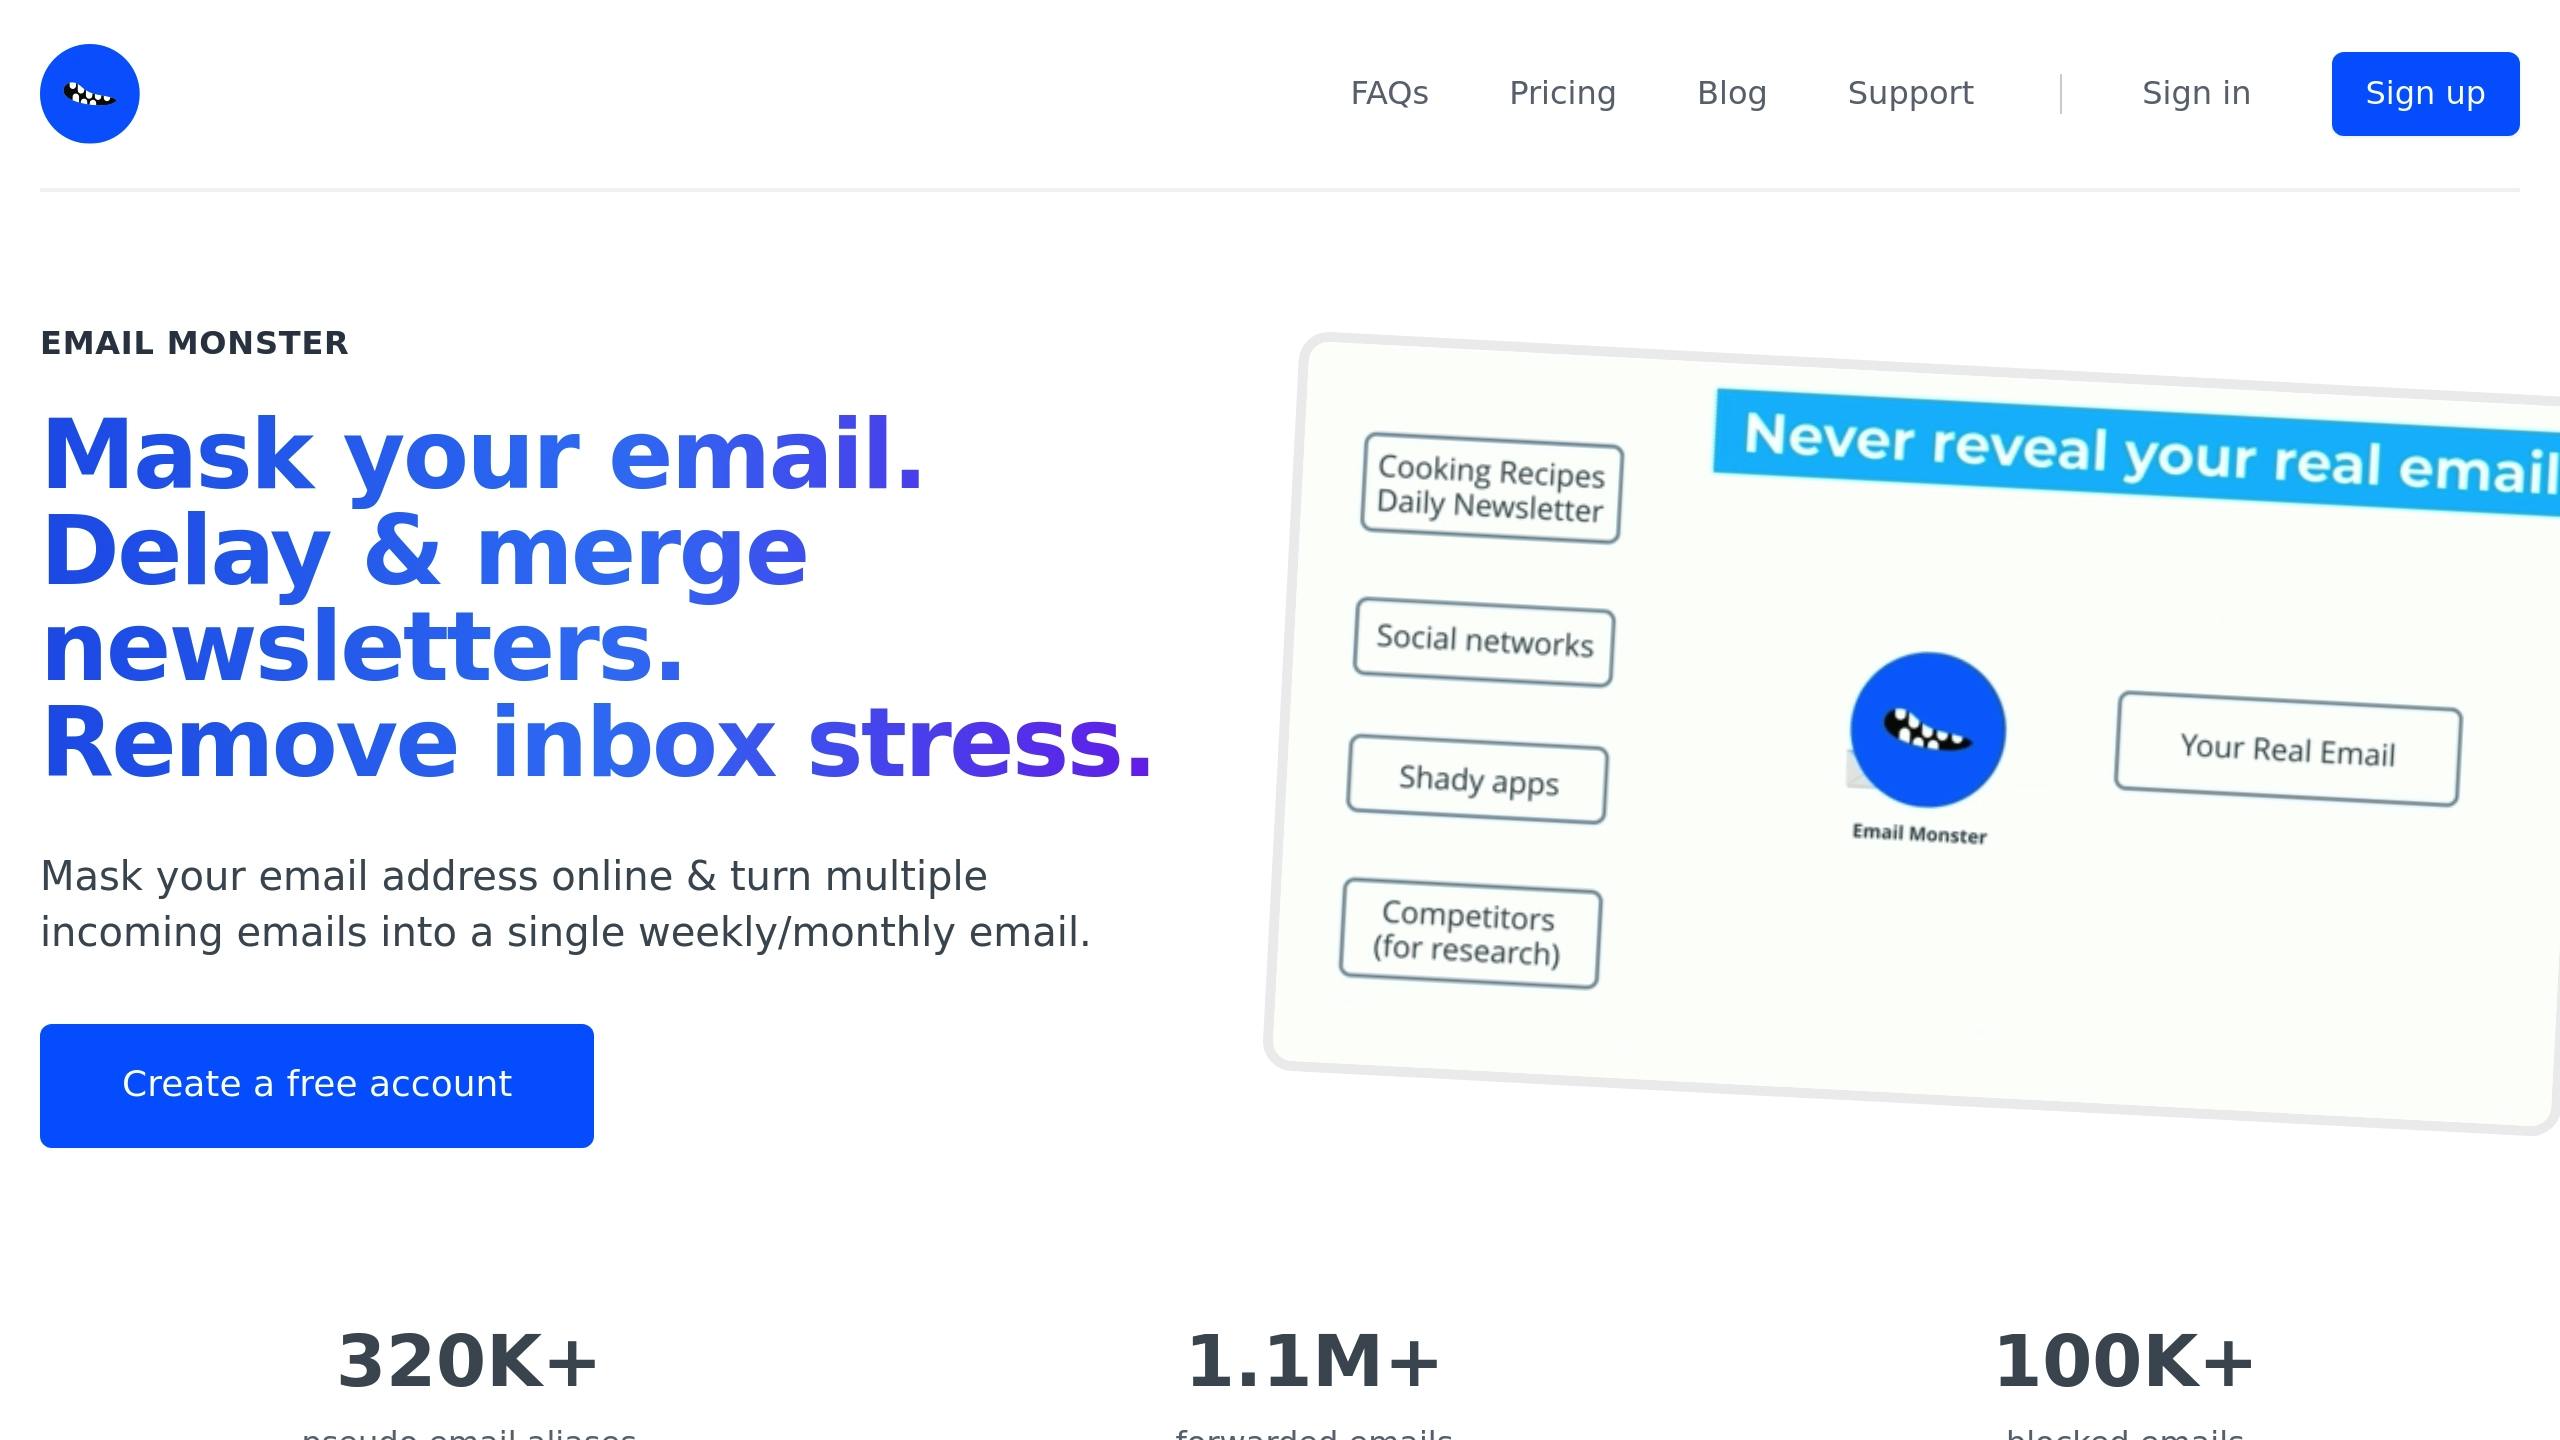
While Gmail and Outlook offer sender-blocking features, spammers often find ways to sidestep these barriers by using new email addresses. That’s where Email Monster comes in, offering a smarter way to safeguard your inbox.
Email Monster works differently by ensuring your real email address stays hidden. It generates unlimited temporary aliases that forward emails to your actual inbox. This stops spammers in their tracks and gives you the tools to manage aliases and track spam effectively.
Use Temporary Email Addresses for Privacy
At the heart of Email Monster’s functionality is its ability to create unlimited email aliases instantly - no setup required. Simply pick a username and generate aliases like netflix@johnsmith.eml.monster to protect your real email address when signing up for services.
If spam starts flooding an alias, you can disable it without affecting your other emails. Unlike Gmail or Outlook, which react to spam after it appears, Email Monster prevents unwanted senders from ever reaching your inbox.
All emails sent to your aliases are forwarded to your usual email provider - whether it’s Gmail, Outlook, or another service - so you don’t need to juggle multiple interfaces.
Block Senders and Manage Your Aliases
Email Monster’s dashboard makes it easy to manage aliases. You can instantly turn any alias on or off, blocking future emails from specific sources if your address is sold or misused.
"I really like that I can see exactly who sold my email address, you'd be surprised!" - Eddie Griffith, Fitness Studio Owner
Additionally, Email Monster offers a handy email digest feature. It consolidates multiple messages into a single weekly or monthly summary, cutting down on inbox clutter while ensuring nothing important slips through.
"Best thing about the monster is the newsletter digests. I like to get all my daily newsletter once a week, with my morning coffee." - Ray Nolan, Product Manager
You can customize aliases for different needs - some for direct forwarding, others for digests, and some that you can disable entirely once they’ve served their purpose.
Track Email Sharing and Stop Spam
One standout feature of Email Monster is its ability to track who’s sharing or selling your email address. Because each alias is tied to a specific interaction, you can quickly identify the source of any unwanted emails.
For example, if you use store123@yourname.eml.monster for an online retailer and later receive unrelated marketing emails on that alias, you’ll know exactly who shared your address.
"I can just turn off emails, forever!" - Ari Lindert, Head of Marketing
Beyond blocking spam, Email Monster gives you visibility into how your aliases are being used. The service offers a free plan (allowing up to 40 emails and 1 digest per month) and premium options starting at just $0.99/month or $6.99/year for unlimited emails and digests. Note: attachments aren’t supported.
With these tools, Email Monster helps you keep your inbox clean and secure.
Gmail vs Outlook vs Email Monster: Feature Comparison
When it comes to handling unwanted emails, Gmail, Outlook, and Email Monster each take a unique approach. Gmail and Outlook focus on managing spam once it lands in your inbox, while Email Monster takes a more proactive route by using temporary aliases to stop unwanted emails from ever reaching your real address.
Gmail’s method involves sending emails from blocked senders straight to your spam folder. Outlook, on the other hand, redirects suspected spam to the Junk folder, allows domain-wide blocking, and even filters emails based on specific regions. These unwanted messages are automatically deleted after 14 days.
Email Monster stands out by ensuring your real email address stays hidden. It uses temporary aliases, which act as a shield, preventing spam from ever reaching you. Let’s break down how these platforms compare side by side.
Feature Comparison Table
Here’s a quick look at how Gmail, Outlook, and Email Monster handle blocking unwanted senders and protecting your email privacy:
| Feature | Gmail | Outlook | Email Monster |
|---|---|---|---|
| Ease of Setup | Simple blocking via interface | Moderate – multiple filter options | Instant alias creation |
| Sender Blocking | Sends to spam folder | Redirects to Junk folder | Disable alias completely |
| Domain Blocking | Limited options | Block entire domains and regions | Not applicable (uses aliases) |
| Privacy Protection | Real email is exposed | Real email is exposed | Keeps your real email concealed |
| Spam Prevention | Reactive (after spam arrives) | Reactive (after spam arrives) | Proactive prevention |
| Maintenance | Ongoing block list updates | Regular Junk folder cleanup | Minimal – disable problematic aliases |
| Email Organization | Basic filtering rules | Advanced rules and categories | Digest feature consolidates emails |
| Tracking | No tracking for sender origins | No tracking for sender origins | Tracks email sharing |
| Cost | Free | Free with a Microsoft account | Free plan; premium $0.99/month |
The main difference lies in how they address spam - reactively versus proactively. Gmail and Outlook focus on filtering and organizing incoming emails but don’t shield your real email address. In contrast, Email Monster’s alias system acts as a barrier, keeping spammers from ever learning your actual contact details.
For those battling persistent spam from various sources, Email Monster provides a practical solution. You can create aliases tailored to specific uses, like shopping@yourname.eml.monster for online purchases, and deactivate any alias that begins to receive spam.
Unlike Gmail and Outlook, which require constant updates to block lists and manual maintenance, Email Monster gives you direct control over who can contact you, making it a hands-off way to manage your inbox.
Conclusion
An effective anti-spam strategy hinges on a mix of reactive filtering (like Gmail and Outlook) and proactive alias management through tools like Email Monster. While Gmail and Outlook work by redirecting spam to their Spam and Junk folders, Email Monster takes a different approach - preventing spam from reaching you in the first place by keeping your real email address hidden.
Spam makes up a staggering 56.5% of all email traffic and costs businesses $20.5 billion every year [11]. Email Monster has created over 320,000 pseudo email aliases and blocked more than 100,000 spam emails [10], showing how proactive measures can outperform traditional filtering methods.
The best strategy combines the strengths of both approaches: use Gmail or Outlook’s blocking tools alongside Email Monster’s alias system. Temporary aliases are perfect for online shopping, newsletters, or any scenario where you’re unsure about the sender’s reliability. If an alias starts receiving spam, you can simply disable it - problem solved.
For managing legitimate emails, such as newsletters, Email Monster’s digest feature is a lifesaver. It consolidates clutter into a manageable summary, making your inbox more streamlined.
At just $0.99 per month, Email Monster offers unlimited aliases and digests, providing a cost-effective way to enhance your email security. By pairing Gmail or Outlook’s reactive tools with Email Monster’s proactive alias system, you can take full control of your inbox and protect yourself from unwanted senders.
FAQs
How can I make sure important emails aren’t accidentally marked as spam in Gmail or Outlook?
To make sure important emails don’t get lost in your spam folder, you can whitelist trusted senders or domains in both Gmail and Outlook.
In Gmail, simply add the sender to your contacts or create a filter that ensures their emails are marked as "Never send to spam." For Outlook, you can add the sender to your Safe Senders list or set up a rule to keep their messages in your inbox.
It’s also a good idea to check your spam folder regularly. If you find legitimate emails there, mark them as "Not spam." This helps train your email service to recognize similar messages in the future, improving its spam filtering accuracy.
What are the advantages of using Email Monster's temporary email aliases instead of blocking senders in Gmail or Outlook?
Using Email Monster's temporary email aliases comes with clear advantages over the traditional method of blocking senders in platforms like Gmail or Outlook.
For starters, these aliases boost your privacy by letting you sign up for websites or services without revealing your actual email address. This reduces the chances of spam, phishing attempts, and other unwanted messages landing in your main inbox.
They also make inbox management easier. Unlike blocking individual senders - a process that requires constant attention and updates - temporary aliases automatically expire after their purpose is served. This ensures spam and promotional emails don’t stick around or pile up unnecessarily.
With Email Monster, keeping your inbox clean, organized, and private becomes a seamless experience.
How do you block unwanted emails in Gmail and Outlook, and what are the key differences between them?
In Gmail, managing unwanted emails is all about creating filters. These filters let you set up specific rules for incoming messages. For instance, you can automatically archive, delete, or mark certain emails as spam. You can create these filters either directly from the search bar or by selecting a specific email and adjusting the filtering options. This gives you a lot of flexibility to keep your inbox organized.
In Outlook, the process is more straightforward and focuses on blocking specific senders. All you need to do is right-click on an email from the sender you want to block and choose Block Sender. Once you do this, any future emails from that sender will go straight to your Junk Email folder. Unlike Gmail, Outlook doesn’t rely on complex rules, making it a quick and simple solution.
Both Gmail and Outlook provide solid tools for handling unwanted emails. Gmail’s filters offer more customization, while Outlook’s approach is faster and easier for targeting specific senders.